Getting started
Install and activate
What you need, how to install Gloop on Windows and on Mac, how to activate it with your key and how updates arrive.
What you need
- Windows 10 or 11, or macOS on Apple Silicon or Intel.
- Claude Code, installed and already signed in: Gloop starts it in its terminals, with your Claude plan. If
claudeworks in your terminal, it works in Gloop. - curl, which Windows 10 and 11 and macOS already have: it's how the agents tell Gloop whether they are working or waiting for you.
- git (recommended): without it Gloop works, but you don't see branches and changed files, and you can't open agents on a branch of their own.
- A Gloop key, starting with
gloop_. You get it together with the link to download the app.
Install on Windows
- Open the download link you received and download the Windows installer.
- Open the file: Gloop installs by itself, with no questions, and opens.
- If "Windows protected your PC" appears, choose More info and then Run anyway.
- Paste your key when Gloop asks for it.
Install on Mac
- Download the
.dmgfor your Mac: Apple Silicon (M1 and later) or Intel. The download page already suggests the right one. - Open the
.dmgand drag Gloop into Applications. - The first time, macOS won't open it: go to System Settings → Privacy & Security and choose Open Anyway. This happens only once.
- Paste your key when Gloop asks for it.
Activate with your key
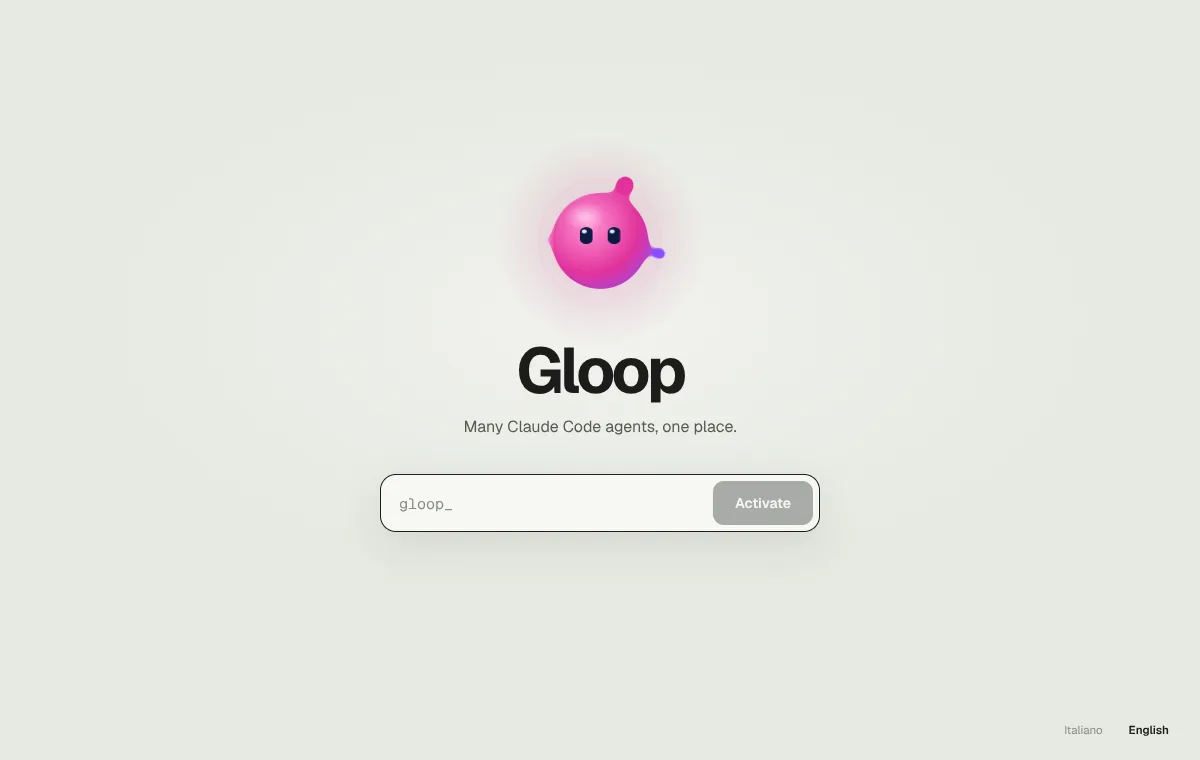
At the first start Gloop shows the mascot, the name and a field: paste your gloop_… key and press Activate. From there, the workspaces window opens.
- The key is personal: don't pass it on. You can use it on several computers of yours.
- Gloop checks the licence at start and then every now and then. Without a network it keeps working for 7 days: you don't need to be online to work.
- If a licence stops being valid while the app is open, you lose nothing: it applies from the next start.
- The download link is for installing Gloop the first time or on another computer. On its own it doesn't give a licence: you always need the key.
If the key is refused, the line under the field tells you why: a token that doesn't exist (check you copied all of it), revoked, expired, or too many attempts from the same network. For every other case see Troubleshooting.
Your first workspace
At the first start a guided tour runs on an example workspace: in a couple of minutes it shows you the column, the bar, an agent and its tabs. You can skip it and open it again whenever you like from Help, at the bottom of the column.
Then choose your project's folder: Gloop creates the workspace and starts the first agent right away. The rest is in The Gloop window and Workspaces and panes.
Updates
Updates arrive by themselves, inside the app: every quarter of an hour Gloop checks for a new version and downloads it quietly. When it's ready it tells you in a corner, with Restart.
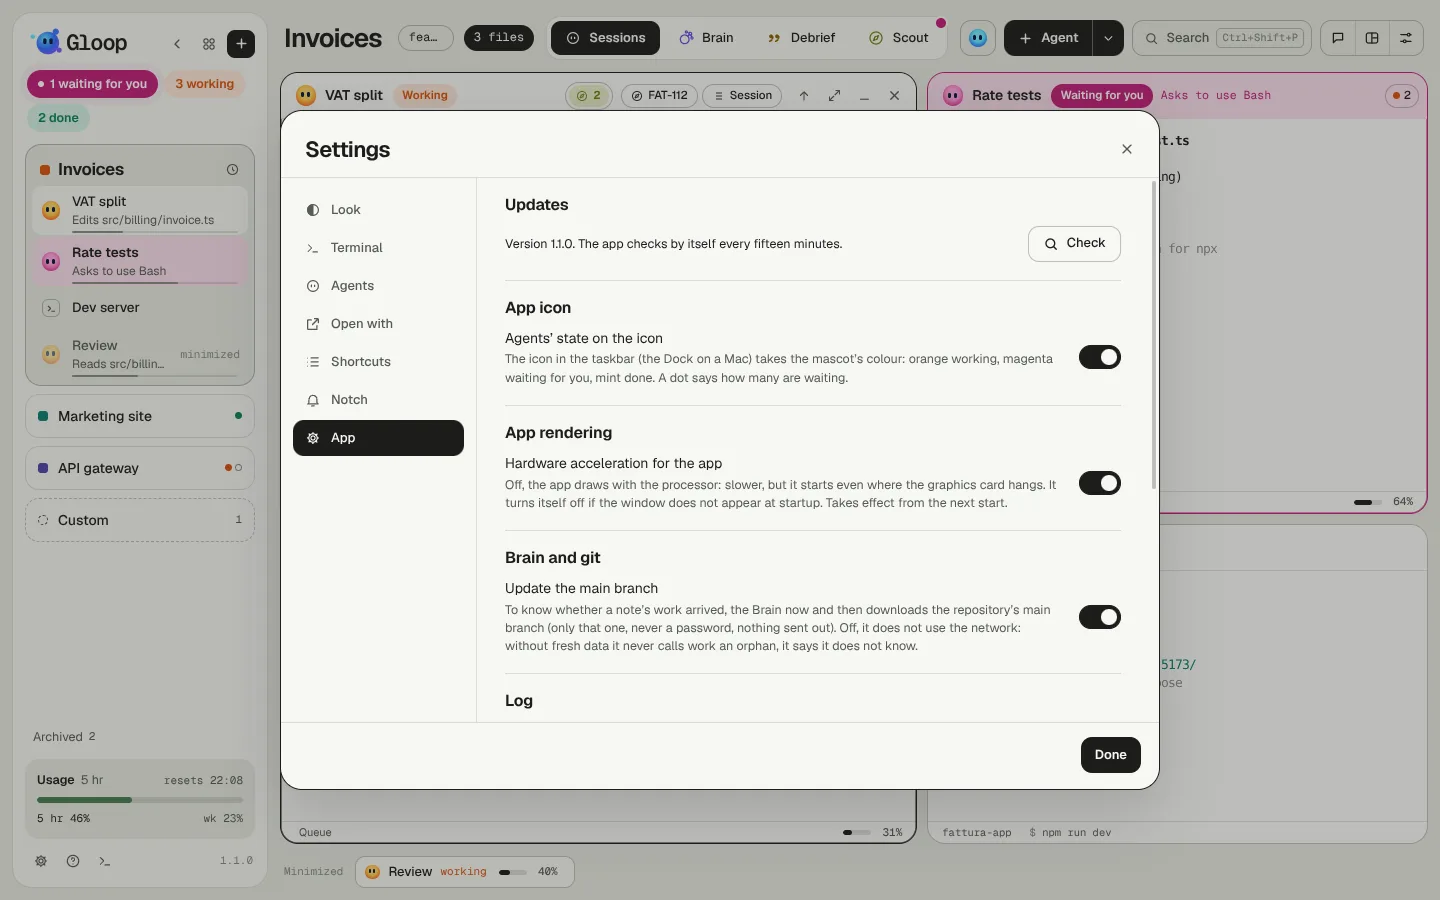
- To check right now: Settings → App → Updates → Check.
- When you restart, the agents stop and start again with Resume: the conversations are kept. See Picking work up again.
- After an update with something new to discover, the What's new window opens; you can see it again from Help.
Language
Gloop speaks Italian and English. By default it uses your system's language; you change it in Settings → Look → Language. The app reloads, the agents keep working, and what Gloop asks Claude switches to the new language too. Notes already written in the Brain stay as they are: to translate them there's Translate at the bottom of the Brain's index (The Brain).